Ah, Inkscape—a name that might just bring a tear of joy to any graphic designer, regardless of whether your used to Adobe and Co. or you’re a designer who’s tight on moolah yet brimming with creativity. Ever heard of it? If not, you’re in for a treat! Because today we’re going to look into why it is so great.
First Things, Well First – Downloading & Installing Inkscape
I love free, don’t you? Great, because Inkscape is a free and open-source vector graphics editor. What does that mean? It’s basically the underdog champion challenging those pricey commercial options. Need to create a logo or fancy up some illustrations? You bet Inkscape’s got your back, and in style to this app has been around for over twenty years, and it only gets better.
It’s like finding out that the generic cereal tastes just as amazeballs as, you know know them, just insert The Brand Name here. Why? Easy. It’s versatile, intuitive, and yep—completely free. Go on, give it a whirl! You can download it for a variety of platforms here. If you want you can even install it from the Microsoft Store though the version number may tag shortly behind the releases on their site. That’s why I prefer to go directly with the main release, don’t want to miss out on those features.
Did you get the app for your system? Great!
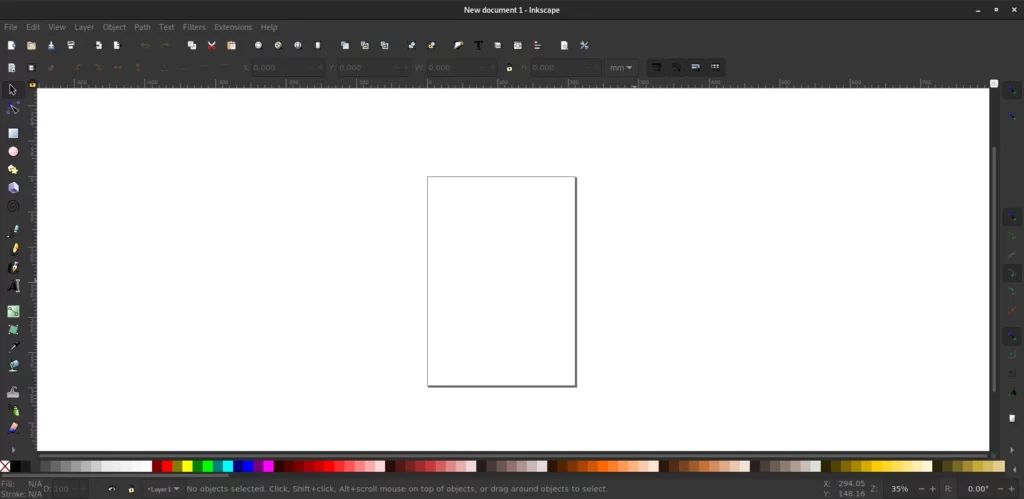
Once you have it installed go ahead and open the application. You’ll be presented with an–wait for it–empty canvas! Yay! Now you can start filling it with your creativity.
Setting Up Inkscape
Okay, okay, we’ve done the ground work, let’s dive into the magical world of Inkscape, shall we? Before you might have be wondering, “Inkscape? What’s that?” Now you’re wondering how do I use it? How do I create something in Inkscape? While it’s a fantastic free software that kicks butt at graphic design—and rivaling those pricey commercial options too it can be overwelming!
First up, breathe easy. Setting up Inkscape’s interface isn’t rocket science. Really. Peek at that top menu bar and start fiddling (not with the microwave, just Inkscape). Tweak your tool preferences—colors, grids, and the kitchen sink!
For basic setup go to “View” -> Click on one of the bottom radio buttons: “Default,” “Wide,” or “Custom”
Whisper to those dockable toolbars on the side. Drag ’em around. Do a little dance. When you’re done, your workspace will feel as customized as your favorite cozy corner at home. And there you have it! A designer’s haven powered by none other than good ol’ free software. Not too shabby, huh?
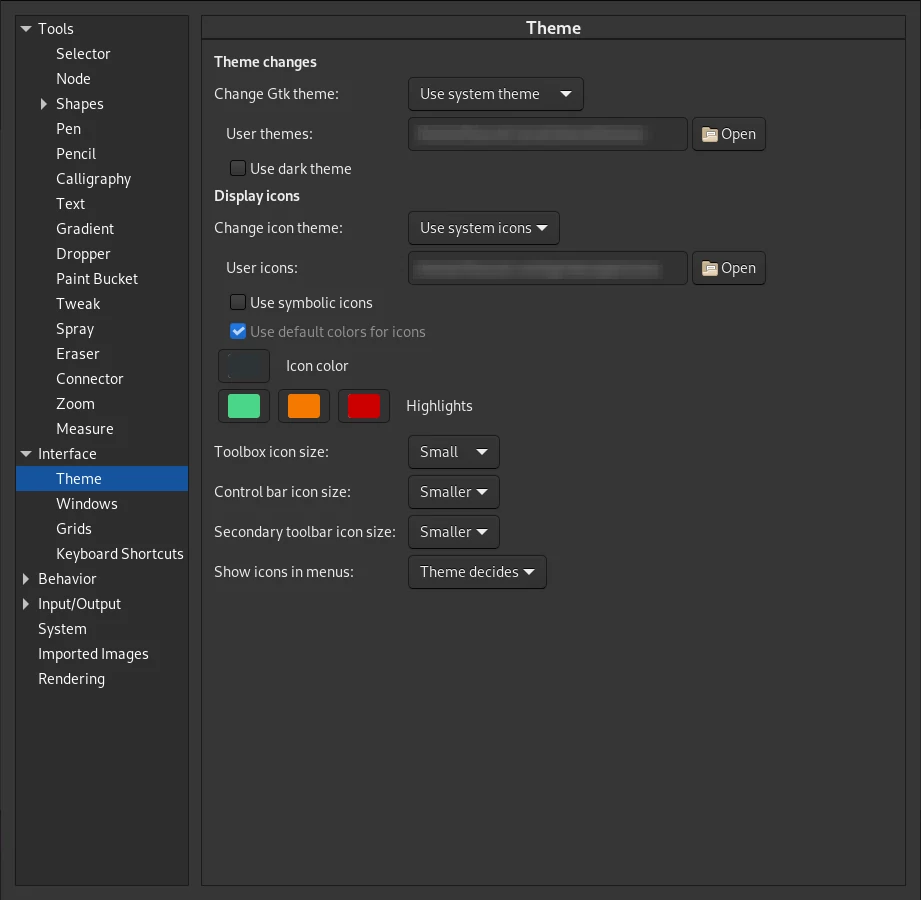
Once you have a layout that you’re happy with, you can further customize the user interface. Click on the ![]() preferences icon to open the application preferences. In the sidebar you will see a ton of things to change. Right now, we’re interested in the “Interference” -> “Theme” though. Click on it to expand the ivew. Now you can further refine your user experience. If you have a big screen and need an easier time seeing the icons you can do that by clicking on the “Toolbox icon size” drop down and set the size. The available sizes are “Small,” “Smaller,” “Large,” and “Larger”. I find the default of small alright, the reason, I mostly use keyboard shortcuts when working with a document. After a while you probably will as well, but if you need bigger icons you can change them here as well as other features like the application theme.
preferences icon to open the application preferences. In the sidebar you will see a ton of things to change. Right now, we’re interested in the “Interference” -> “Theme” though. Click on it to expand the ivew. Now you can further refine your user experience. If you have a big screen and need an easier time seeing the icons you can do that by clicking on the “Toolbox icon size” drop down and set the size. The available sizes are “Small,” “Smaller,” “Large,” and “Larger”. I find the default of small alright, the reason, I mostly use keyboard shortcuts when working with a document. After a while you probably will as well, but if you need bigger icons you can change them here as well as other features like the application theme.
Next Up – Inskcape Tutorials for Beginners
So you’ve got some amazing ideas swirling in your head, and you’re ready to unleash them onto the digital canvas. Seriously, Inkscape can be your best buddy in the world of graphic design once you get the hang of how to use it!
Feeling a little overwhelmed?
Never fear, there are a bunch of beginner-friendly tutorials to help guide you out there. Here is a good place to start. Even if your skills are currently just stick figures, soon you’ll be creating masterpieces. Trust me! Get in there and let your creativity flow—amazing things are just a click away. See you next, future graphic design ninja!